KV-TextCatcher
Menu-bar OCR for macOS. Press a hotkey, drag a region, get the text in your clipboard.
Install
⬇ Download KV-TextCatcher.dmg (always the latest, ≈700 KB).
Drag KV-TextCatcher.app into /Applications, launch, and grant Screen Recording permission in System Settings → Privacy & Security → Screen Recording the first time you capture. The DMG is signed with a Developer ID and notarised by Apple — no Gatekeeper warning, no xattr workaround.
The default hotkey is ⌘⇧9. Change it in Settings… from the menu-bar menu.
What it does
- Lives in the menu bar — no Dock icon, no clutter.
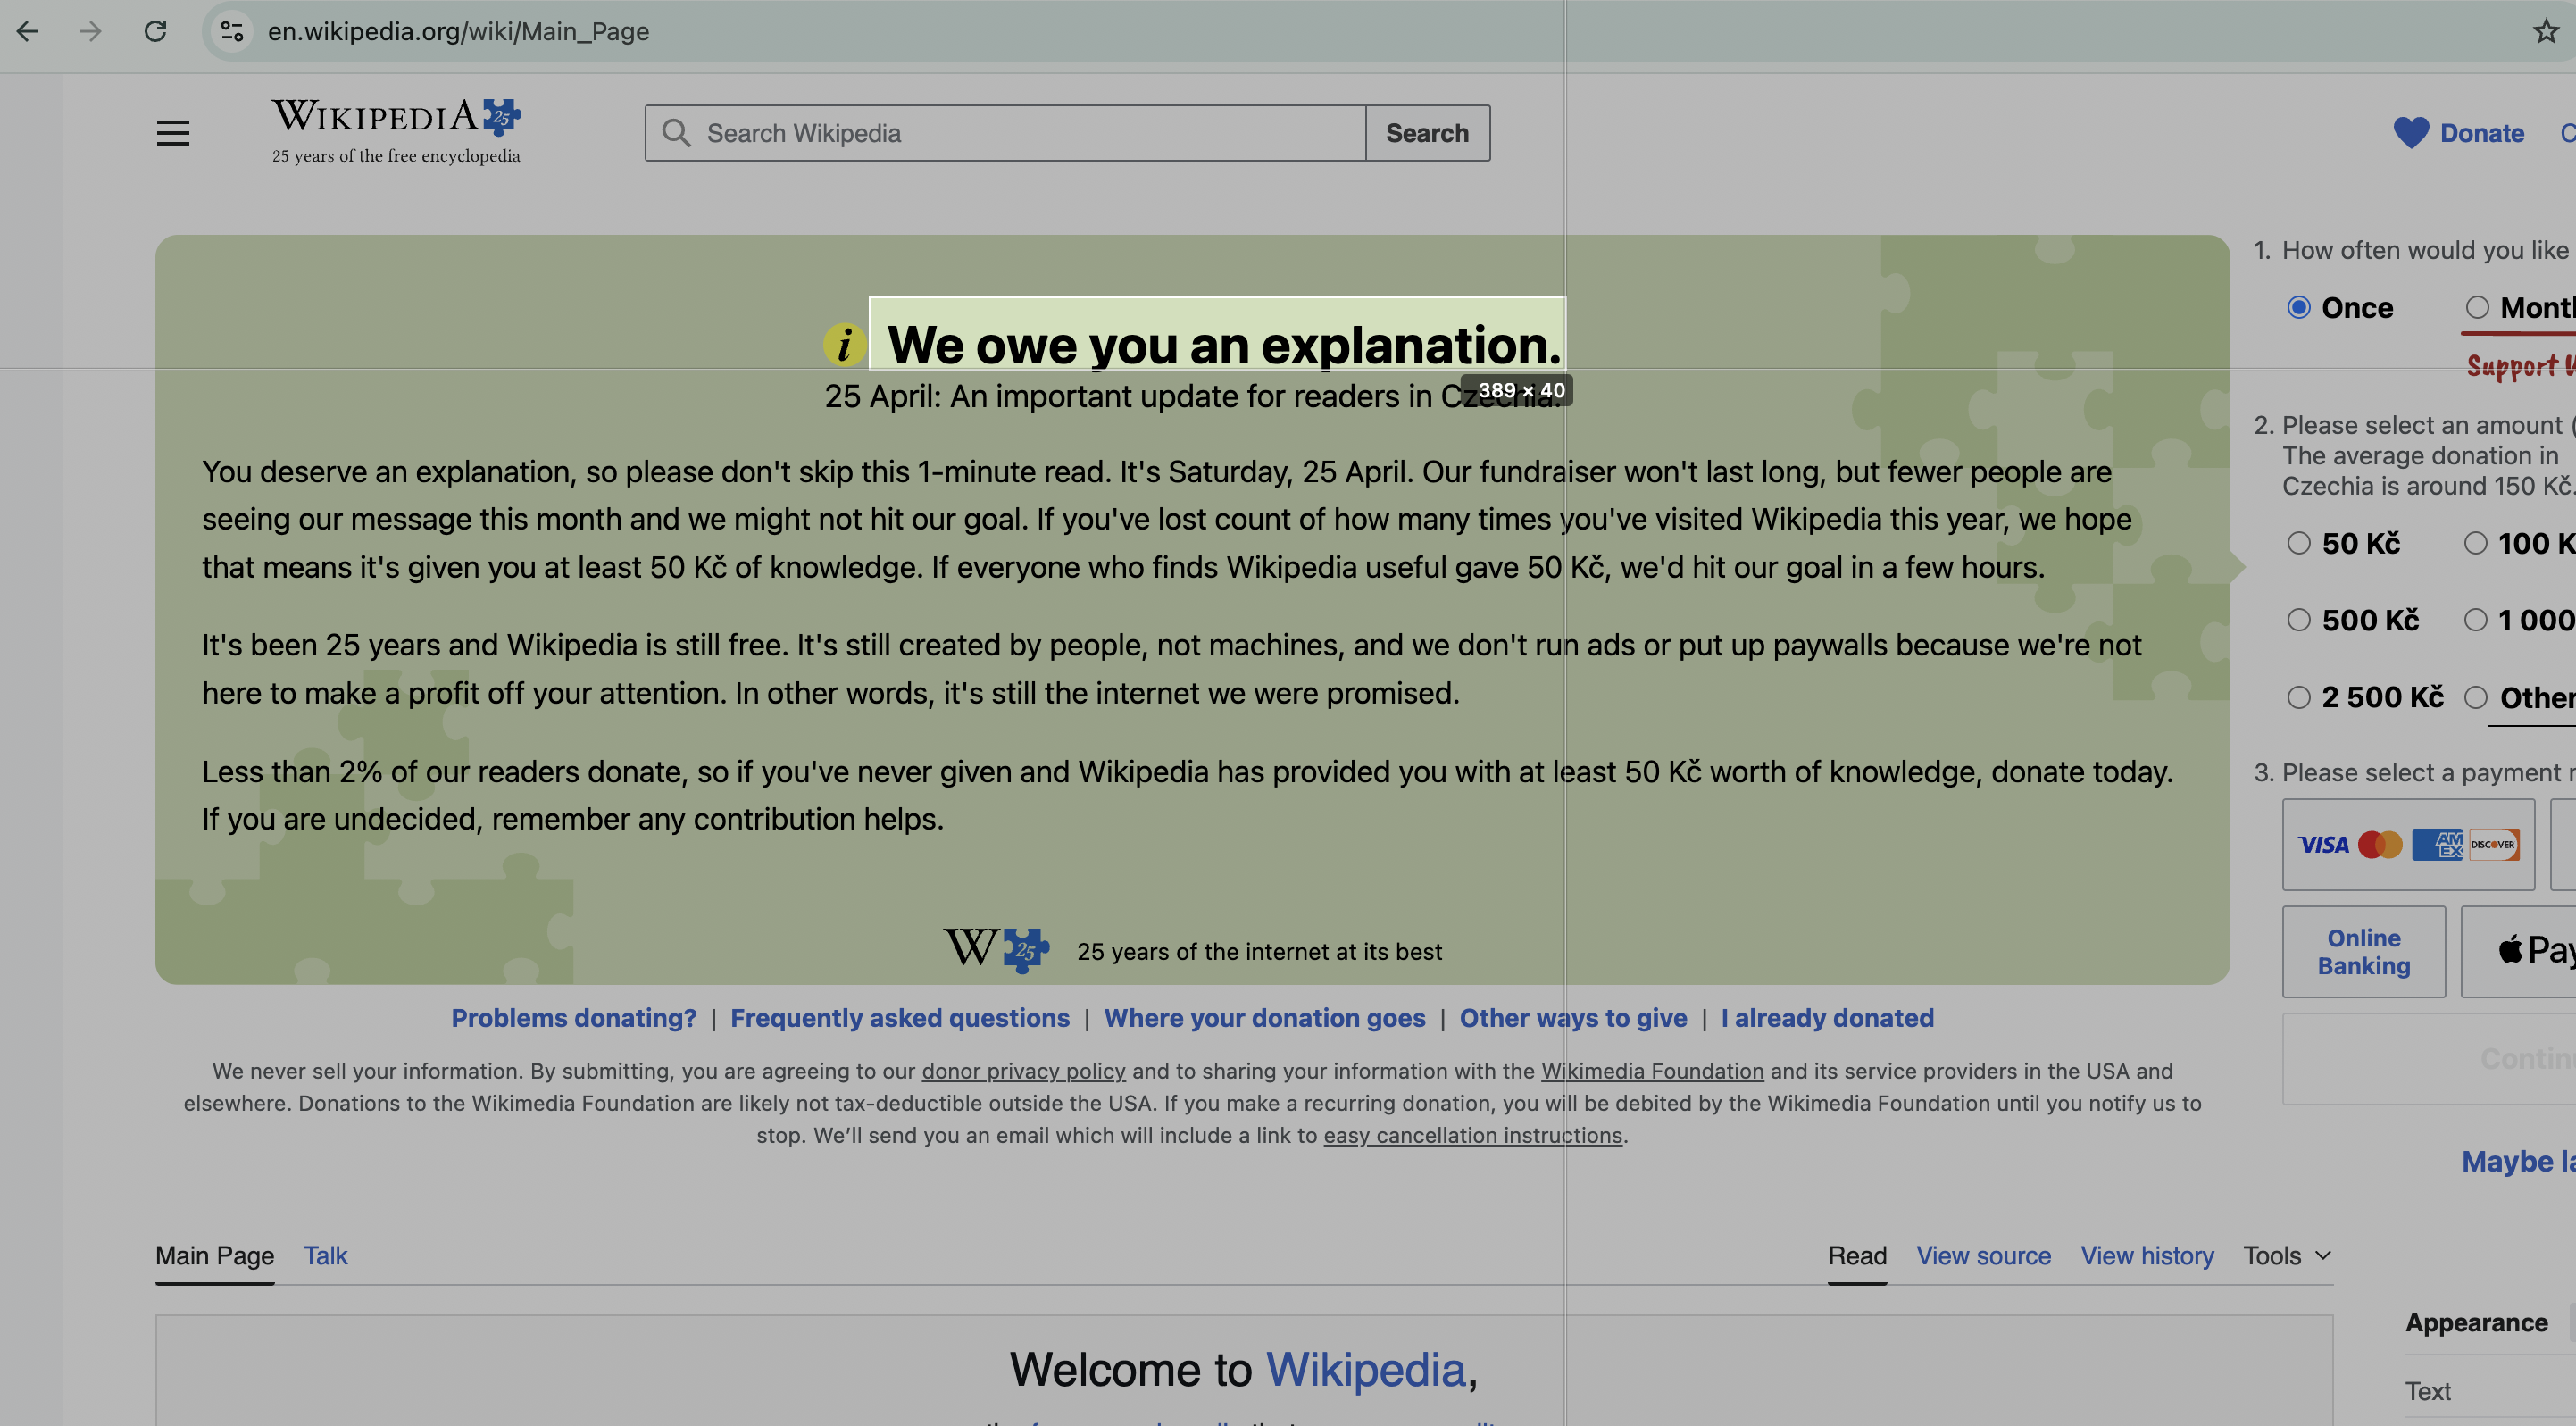
- Global hotkey brings up a passive selection overlay; drag any region of the screen.
- OCR runs locally on-device via Apple’s Vision framework. No network, no accounts, no telemetry.
- Auto-detects language: Latin, Cyrillic, Chinese (Simplified + Traditional), Japanese, Korean, Arabic, and more — depending on the macOS version.
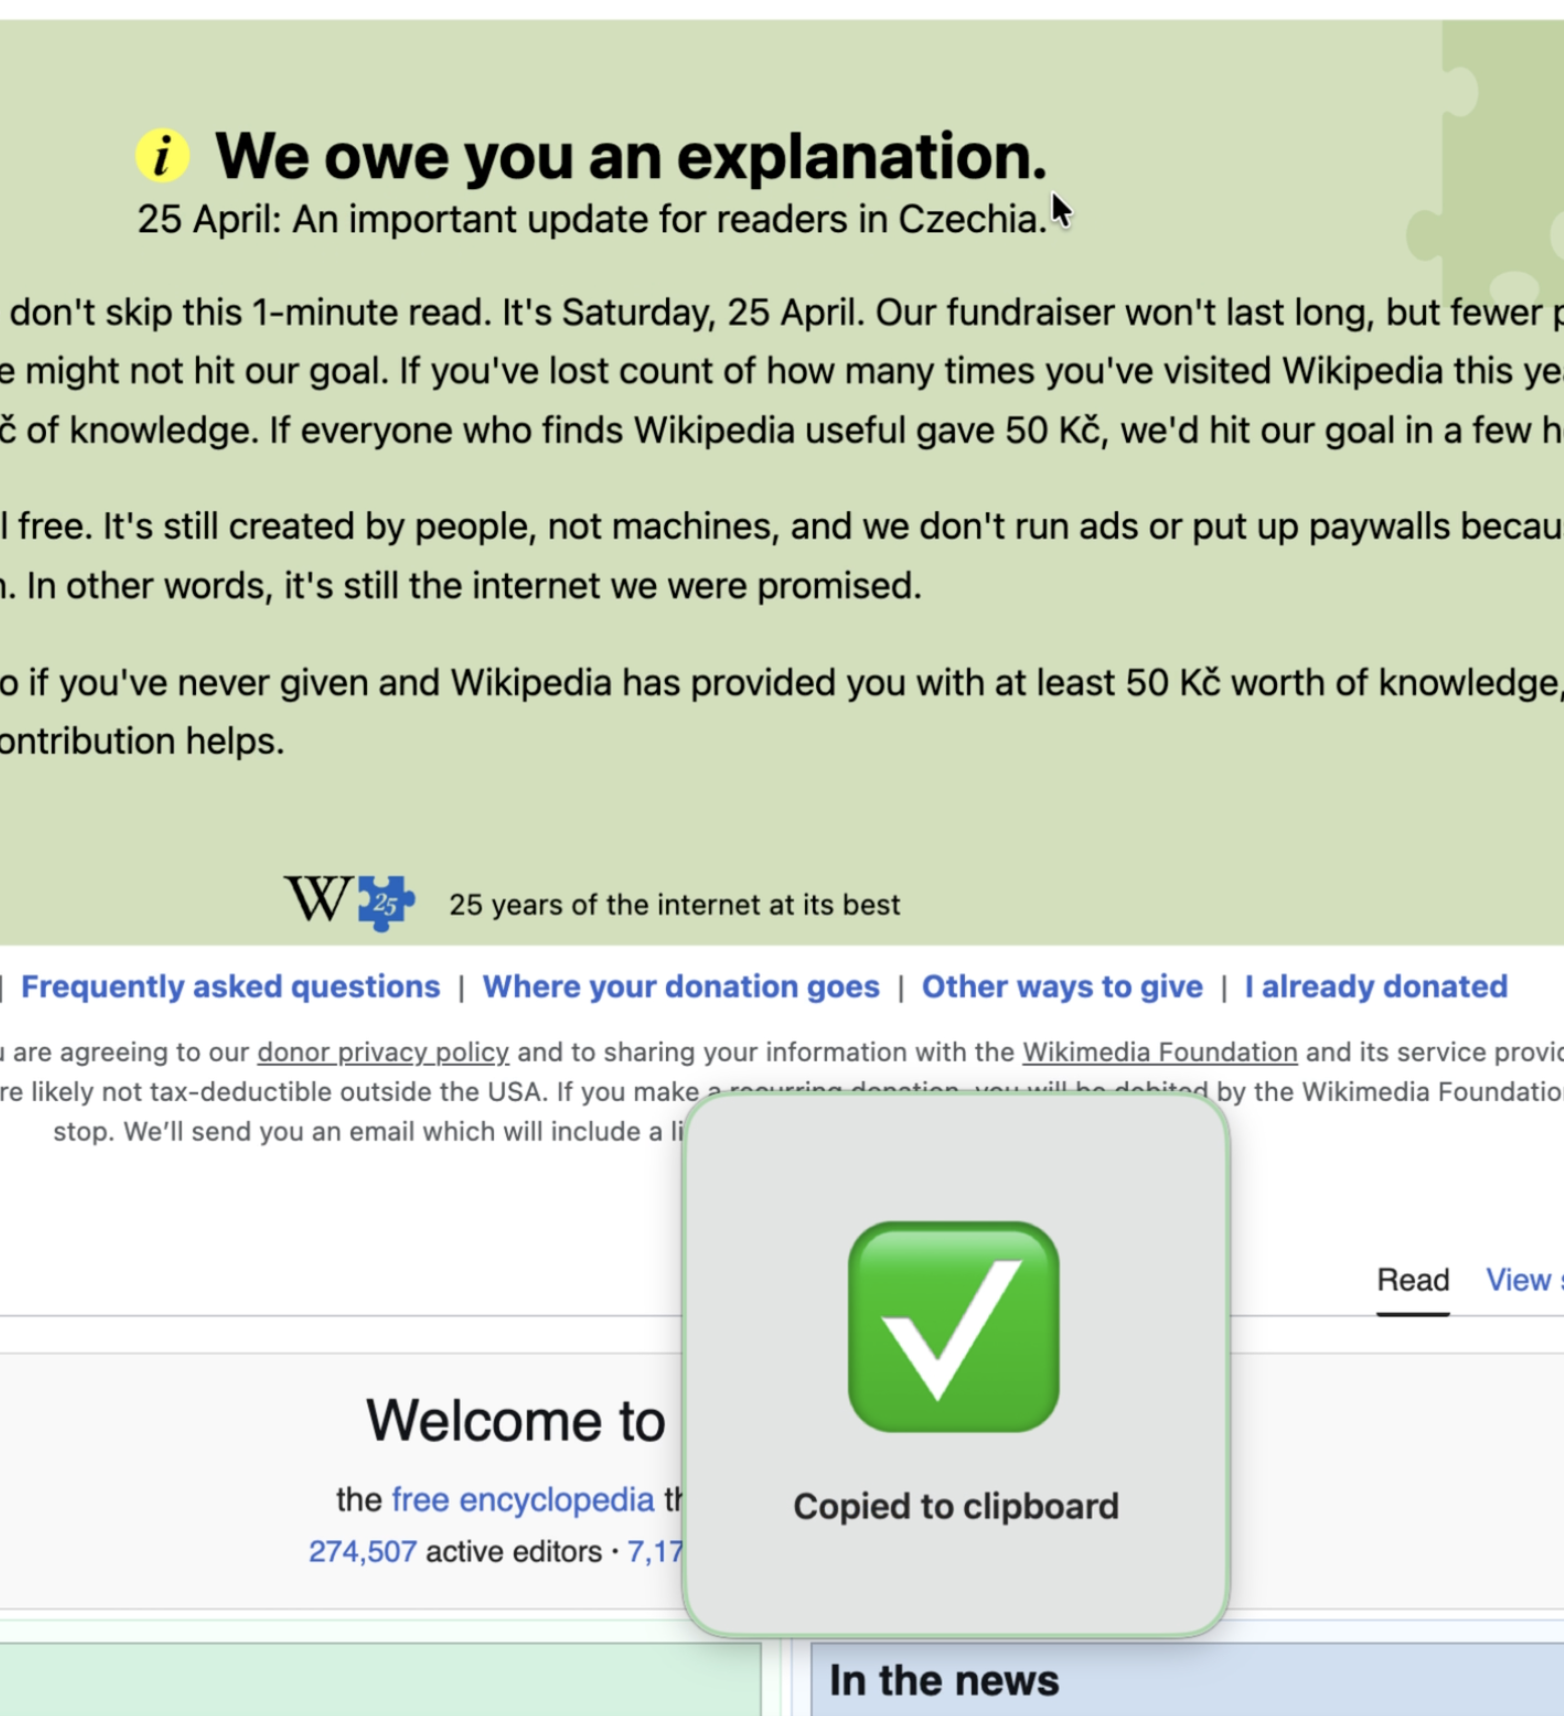
- Result lands on the clipboard and a small confirmation banner appears.
- Universal binary — runs natively on Apple Silicon and Intel Macs.
Selection mode
The selection overlay is passive — it doesn’t steal focus from the app you’re capturing. That means you can capture transient UI elements (Telegram media previews, Spotlight-style panels, the macOS emoji picker) without them auto-dismissing on focus loss.
Cross-screen alignment guides at the cursor make it easy to align the rectangle with text edges. Cancel with Escape or right-click.
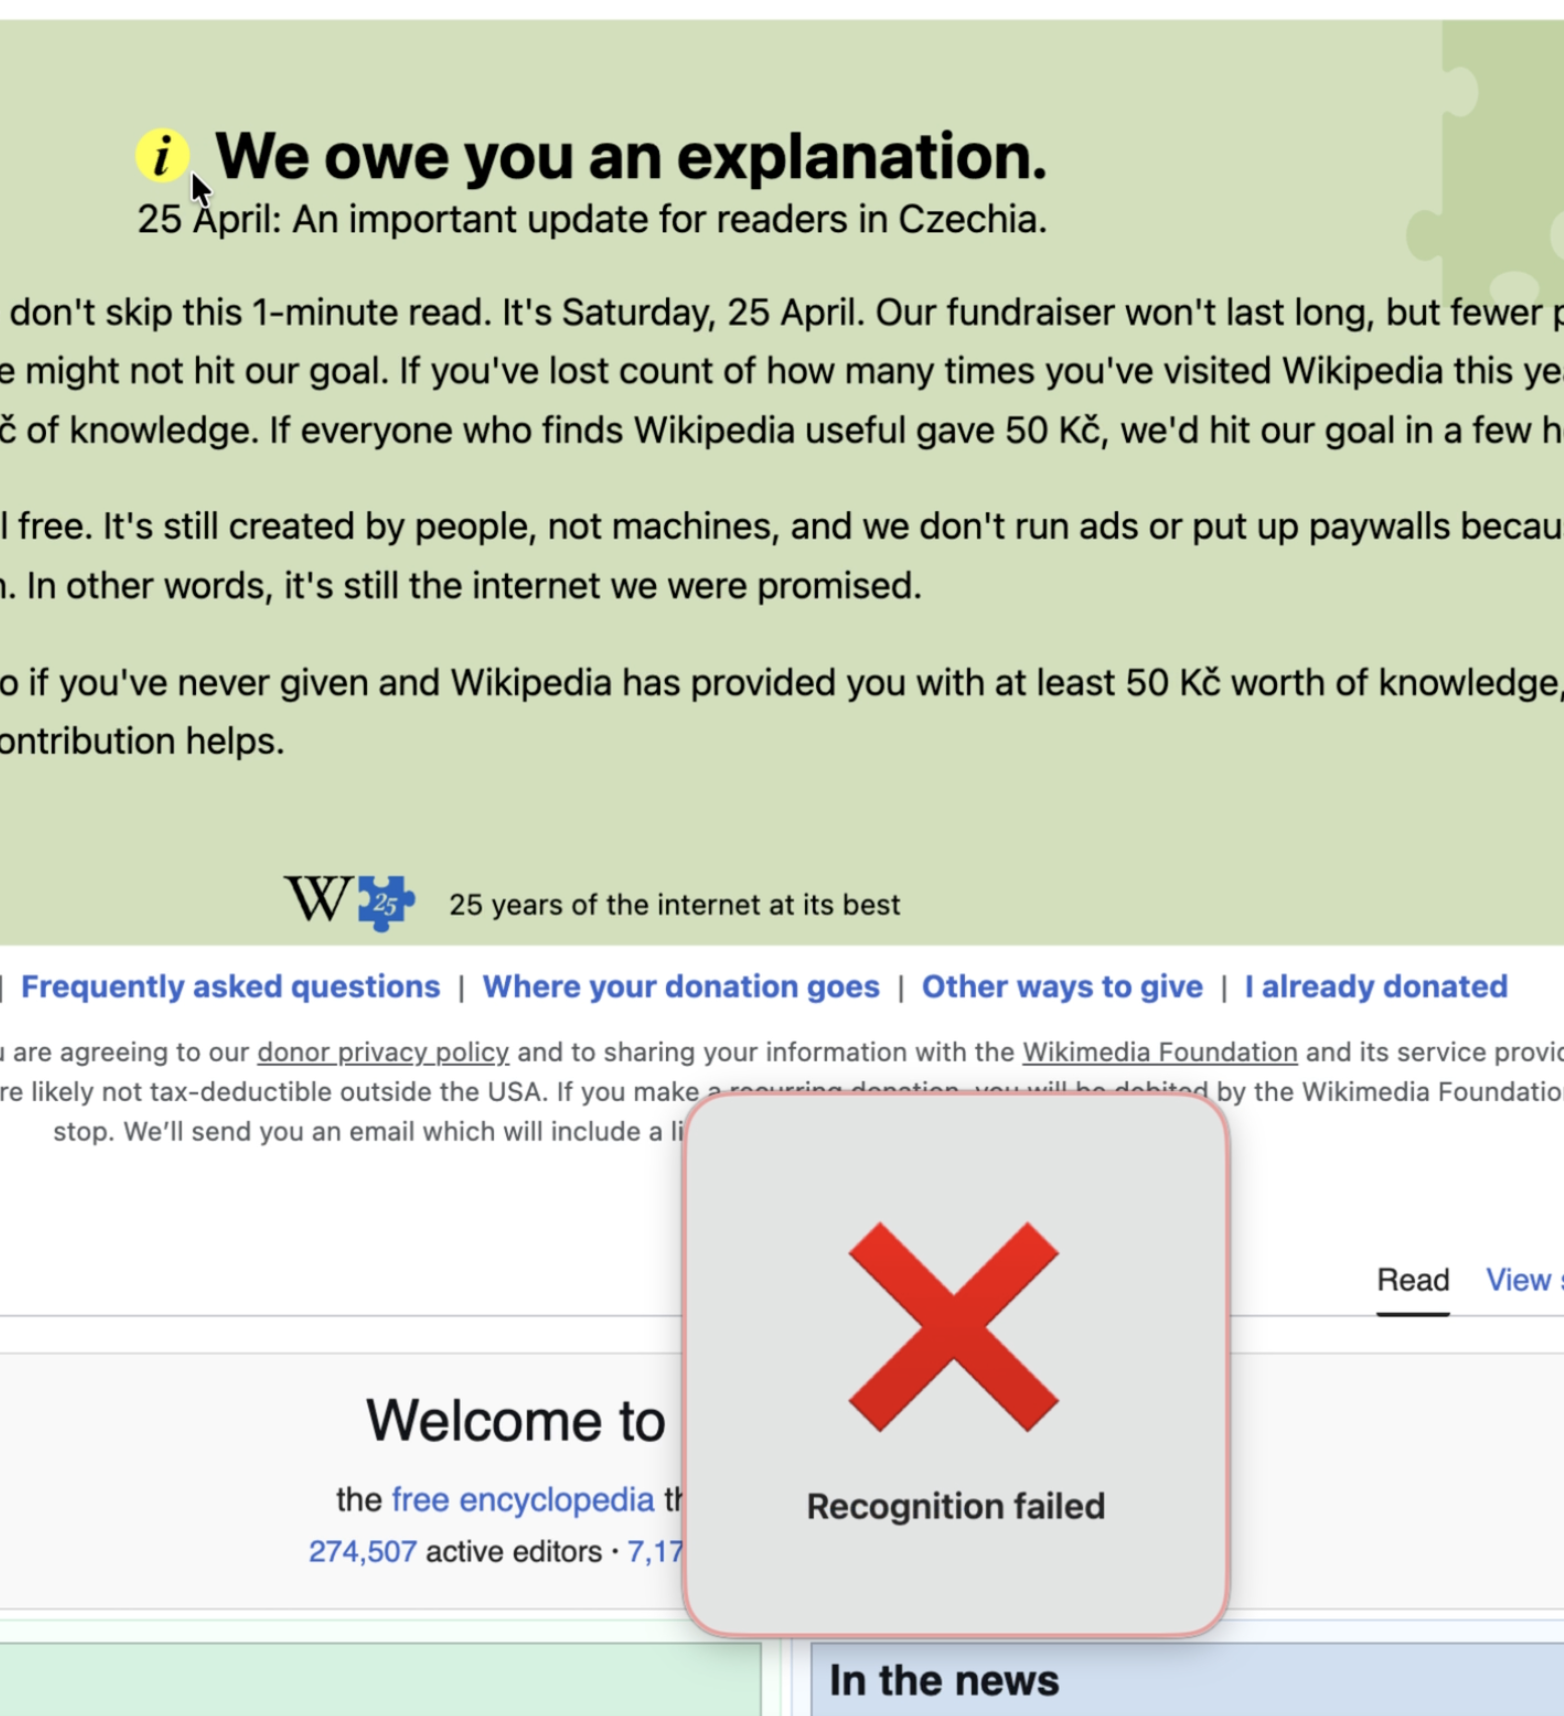
When OCR fails
OCR works best on text that’s at least ~12 pt and has reasonable contrast against its background. If recognition fails (low contrast, tiny text, decorative font, heavy compression artefacts), KV-TextCatcher shows a brief failure banner and discards the capture — nothing else happens.
Requirements
- macOS 13 Ventura or later
- Apple Silicon or Intel (universal binary)
- Screen Recording permission (granted on first capture)
Privacy
The app makes no network calls, has no accounts, and stores nothing beyond your selected hotkey + a couple of toggles in UserDefaults. Captured pixels are processed in memory by Apple’s Vision framework on your Mac and discarded. Full policy: PRIVACY.html.
Sources live in a separate private repo. This public repo only carries the README, privacy policy, and the latest DMG so the download URL stays stable across versions. See all KV- apps at github.com/slava-konashkov.*